
Replacing Dolphin / Maytronics Robot Parts
Published by Matt Fichera on 09/09/2019
Posted in: Robotic Pool Cleaners

The mechanical components of a maytronics robotic pool cleaner are easily viewed and quickly accessed by folding the handle of the robot down and turning the vehicle onto its back with the underneath facing up.
Some of these robots have something called an “Active Brush” powered by an extra drive and can easily be seen on the underside of the vehicle located in the center. Using a screwdriver, remove the four screws that are holding the active brush in place. Use caution in taking this center brush off the vehicle as there are bearings on either side that have the potential to break.
Next up is unscrewing and removing both of the side plates, one on each side of the robot. Once this is removed you can gain access to the gears, wheels, tracks, and pulley. The first thing we do is remove the gear that supports the active brush. Then, the top wheels located on each side are guide wheels with the pulley located in between them in the top center.
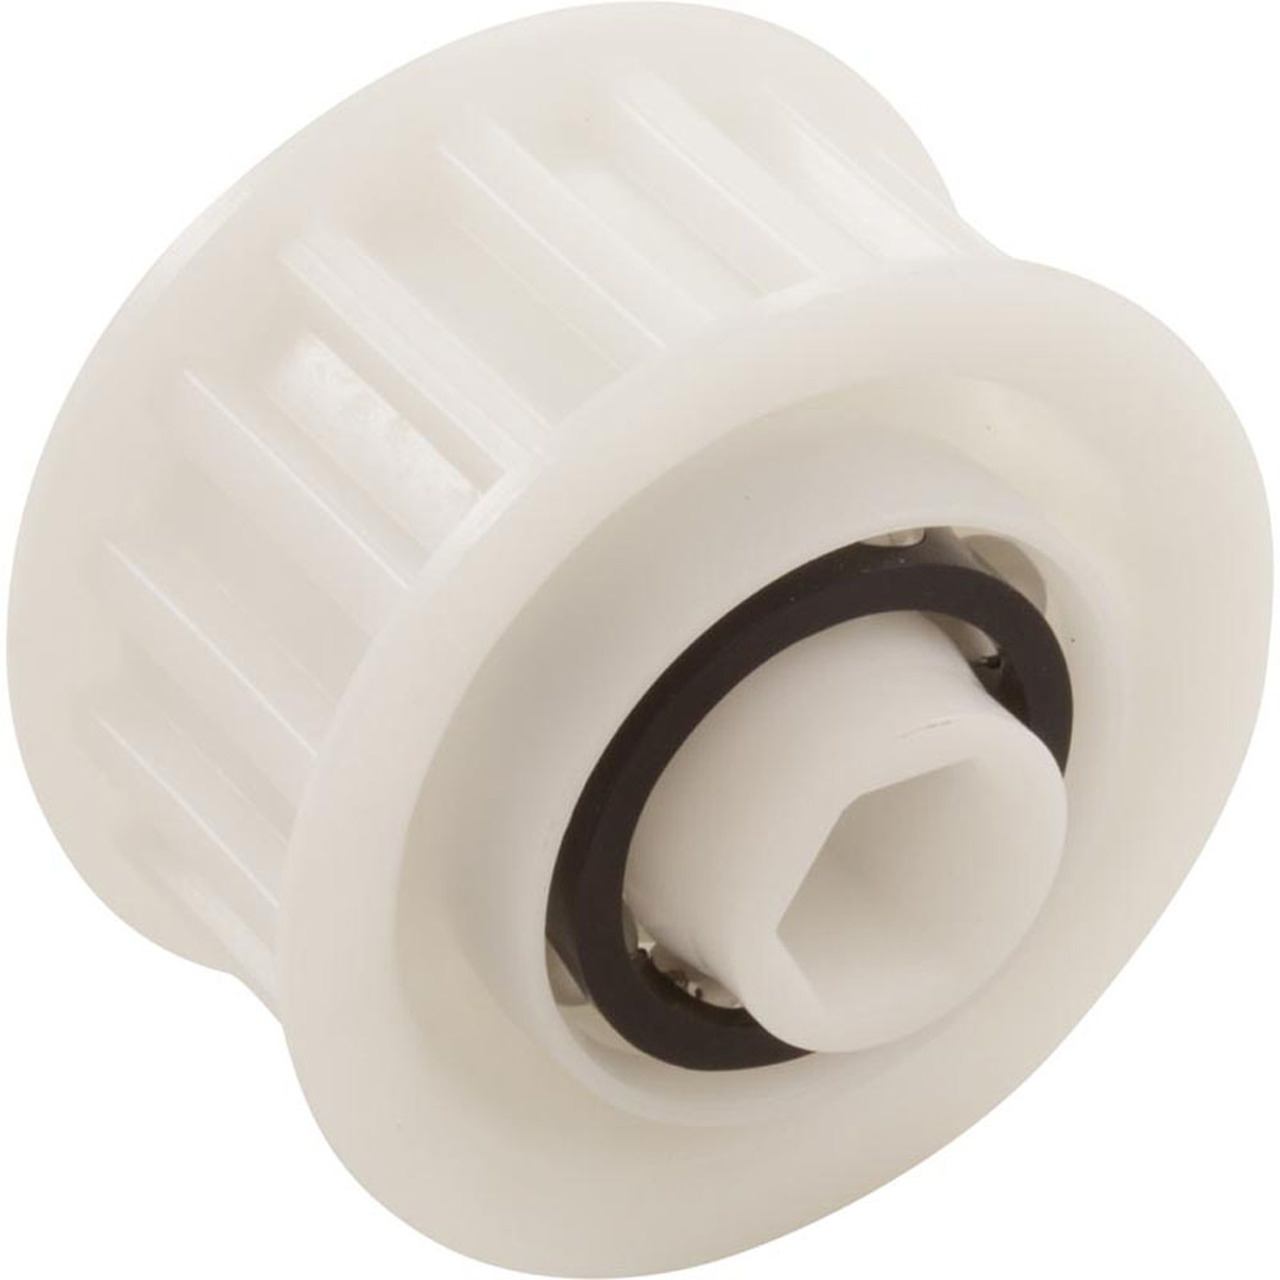
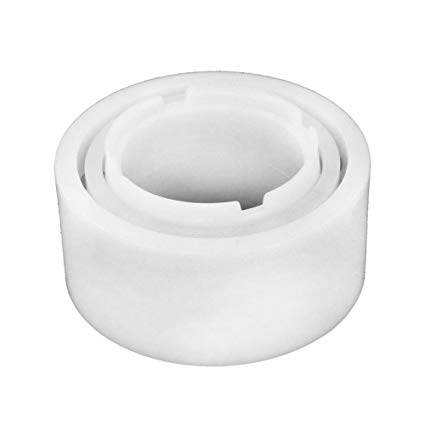
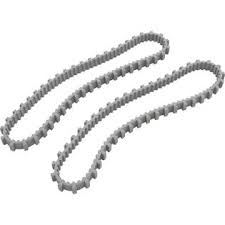
The pulley and the wheels are firmly attached but can easily be removed after apply some pressure. Be careful not to lose or damage the center pin located in the center of the pulley as the entire robot’s drive motor will not work without it. The guide wheels snap in and out of place using the built-in notches and can be changed out depending on their wear. The tracks can easily be removed once the gears and wheels have been removed as the tension is released.
Opening up the other side plate finds a gear with no pin as there isn’t a motor on that side. If the rollers were in fact “split” meaning that there were two independent brushes than this side would also have an additional gear and pin attached to the other functioning motor. Take a look at the split roller that would operate each brush independently.
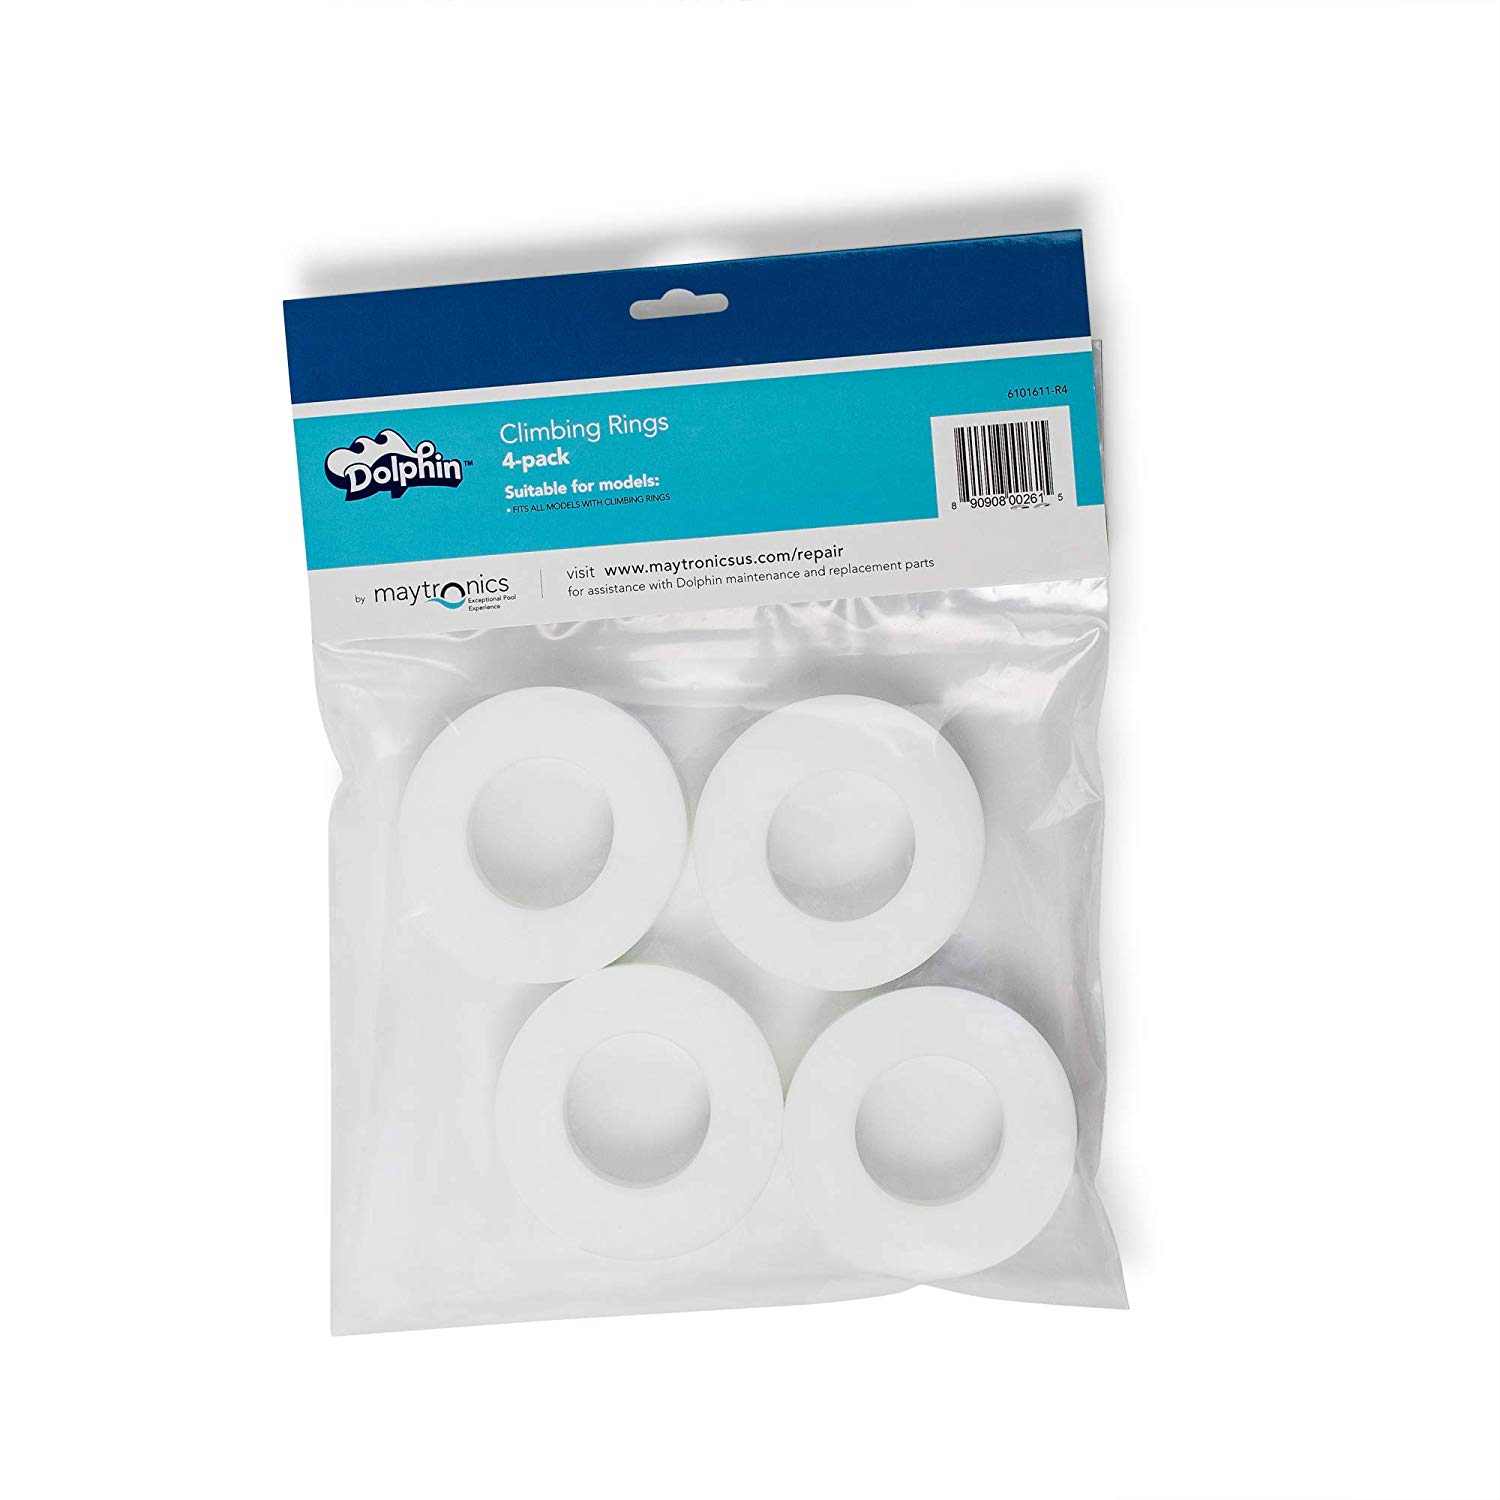
Changing out the rings on each of the roller brushes is also done with ease. Pop the cylindrical roller out of its place and check the consistency of the rings. If the material is dry you can simply cut them off with a knife or use a screwdriver to pry them off. If your brush doesn’t have a location for the rings then you cannot use them on your model.
You also can remove the brushes from the rollers by slicing across them the long way and firmly remove from the roller. Applying a new brush you’ll place the rubber brush around the roller and initially it will look like it doesn’t fit very well. This is normal. On one side of the rubber you’ll find pin looking rubber pieces and on the other a square tab with a hole through the middle. You will want to connect the two along the same line, very similarly to buttoning a shirt. You will need something to grab each end like a set of needle nose pliers to be able to grab each end and pull it through the square tab up to a point where the rubber material is larger and won’t loosen. You’ll want to go easy with this step in the process as you don’t want to break the rubber.
To add new rings, one just pulls it down over the roller and make sure that all of the bristles located above the space for the ring are free. After this is completed, you can firmly “pop” the brush back into the groove that holds it into place.
Some other models may in fact require you to access the underside of the robot completely to remove the rollers, gears, pulleys, or wheels.
When adding a replacement track to your robot just keep in mind that there is definitely tension needing to be applied up at the pulley and guide wheels. Make sure that the pin and the bushing are correctly placed. There will also be more tension on any side where there is a motor and this depends on what model you have as not all sides have
 motors as we had
previously mentioned this side does however. The pulley and the pin get placed
with the “hex” side of the pin facing down toward the machine then turn it over
and place it back in pointing at the drive motor. Make sure that you check that
it’s completely attached. Also, before you start threading the new track, make
sure that the gear lock is also back on, this is a plastic ring that attaches
after the bushing and gear and sits furthest out from the vehicle. If this
isn’t there, it won’t lock the gear in place. This lock will need to be firmly
snapped in place and will keep the gear where it needs to be. The old track
gets stretched out based upon its use so when you add a new track there is an
increase in tension as the material is brand-new. Thread the track under the
guide wheels and over the pulley. Because of the tension, you may need a tool
like a screwdriver to assist in getting the track to where it needs to be.
motors as we had
previously mentioned this side does however. The pulley and the pin get placed
with the “hex” side of the pin facing down toward the machine then turn it over
and place it back in pointing at the drive motor. Make sure that you check that
it’s completely attached. Also, before you start threading the new track, make
sure that the gear lock is also back on, this is a plastic ring that attaches
after the bushing and gear and sits furthest out from the vehicle. If this
isn’t there, it won’t lock the gear in place. This lock will need to be firmly
snapped in place and will keep the gear where it needs to be. The old track
gets stretched out based upon its use so when you add a new track there is an
increase in tension as the material is brand-new. Thread the track under the
guide wheels and over the pulley. Because of the tension, you may need a tool
like a screwdriver to assist in getting the track to where it needs to be.
When you prepare to add the exterior side plate back on you have to make sure that the wheels and track that you just replaced are sitting straight and are flush with the vehicle they are now a part of. Fit the 3 top points of the plate into the centers of the guide wheels and the center pulley and once they are situated it is ok to firmly snap the bottom of that plate into its proper placement. Then once everything is lined up and checks out, you can add the screws back on which officially locks the gears and side plates back into place.
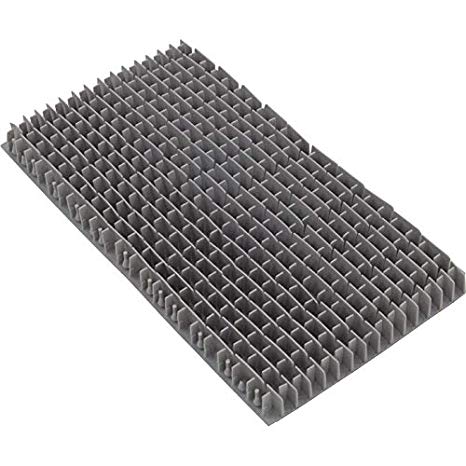
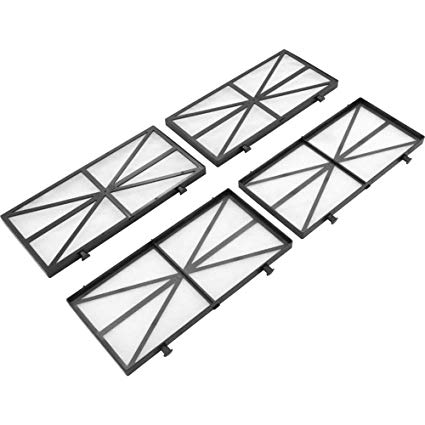
Replacing the Active brush, located in the center, is quick and easy. The pieces that hold the roller in are easily removed once the screws are out and all of these parts can be changed out and replaced. They are then fit back into the correct plastic grooves and held in place with screws again. Once this is secure, you can test tension and if everything is connected correctly by spinning the rollers on each side Popular cartridges that are available include:
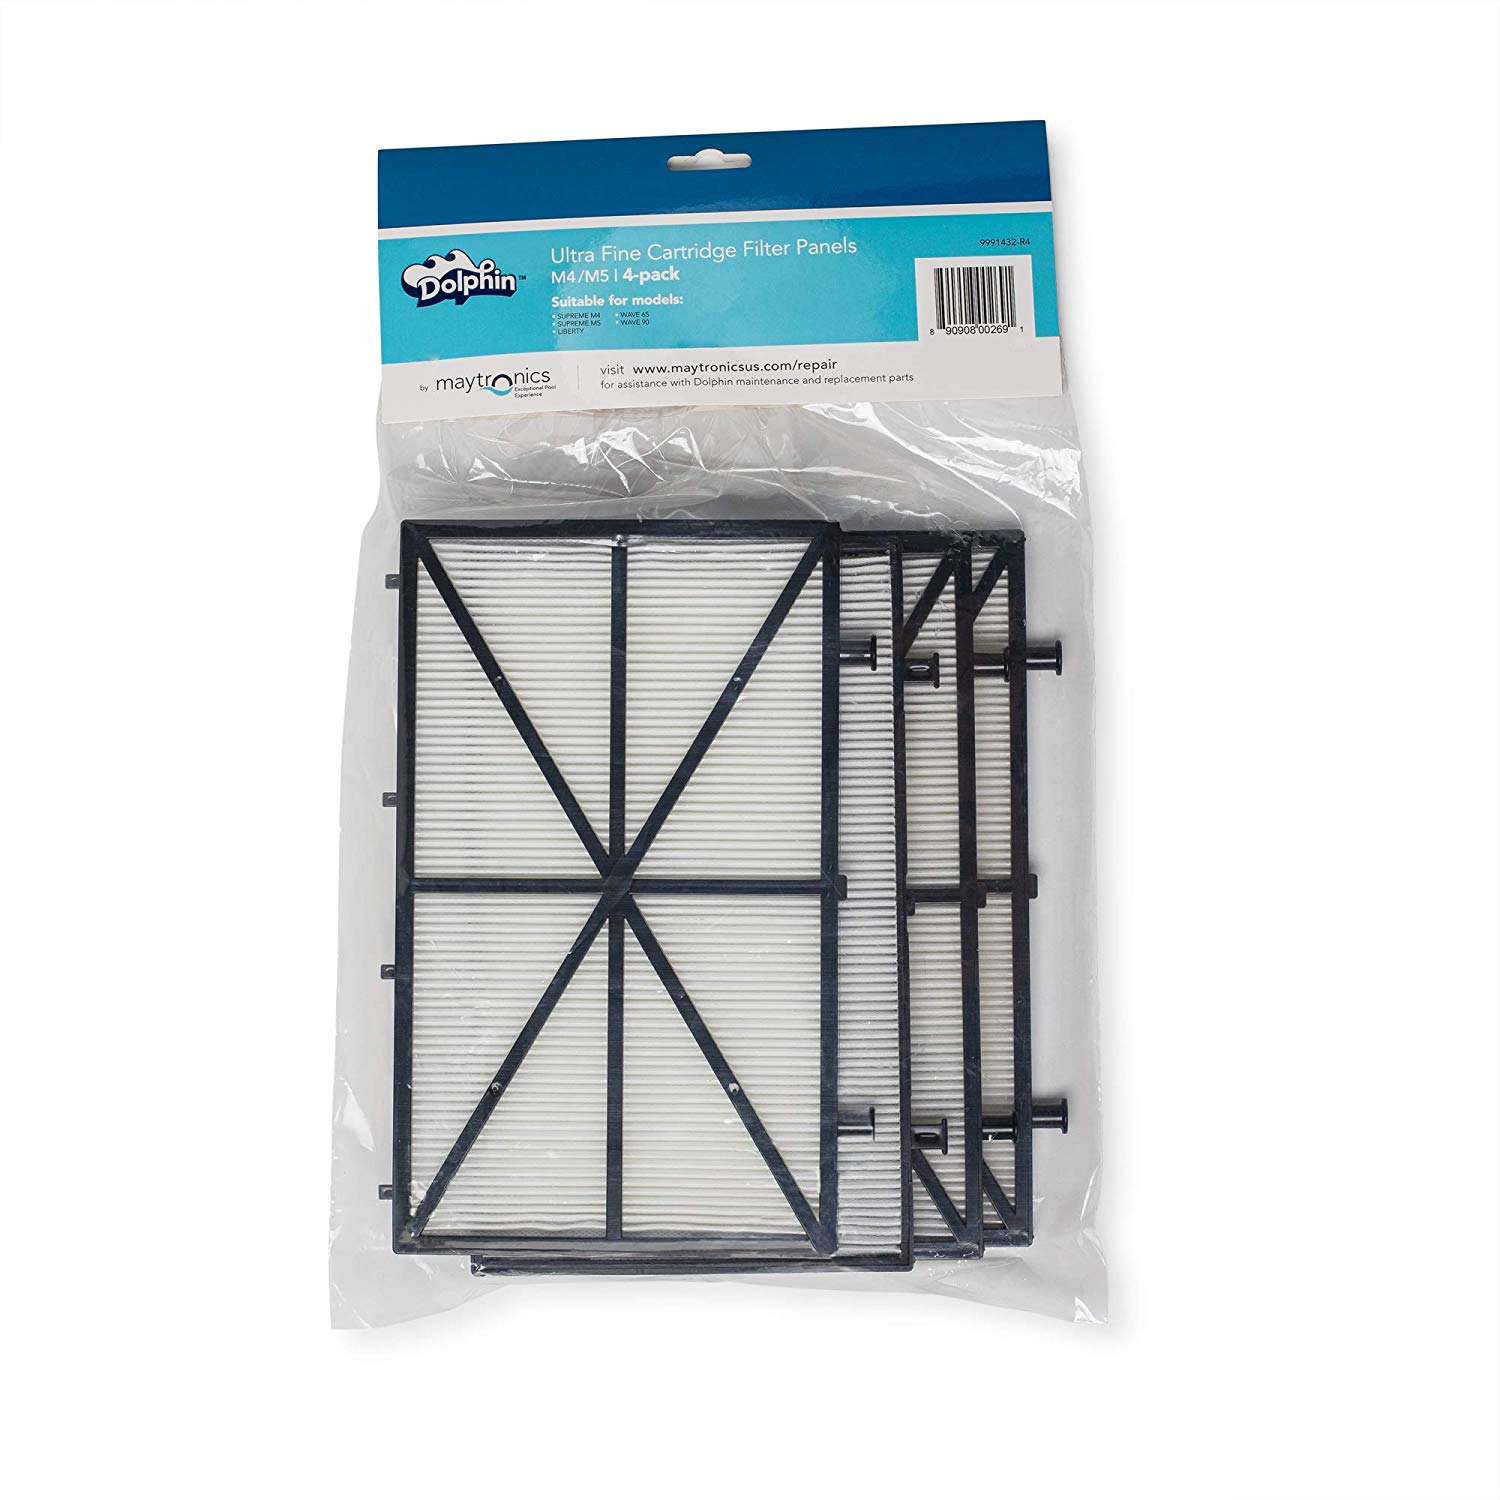
The ultra-fine:
Perfect for daily cleaning to keep your pool crystal clear
highly-efficient, clog-free ultra-fine filtration for small debris
Easy rinse and reload
The spring:
Meant for picking up larger debris, such as leaves
The Spring Filter Cartridges are designed to only trap larger debris and let fine debris pass through to prevent the cartridges from being clogged as quickly when the pool is especially dirty, like when you open the pool in spring.
View Our Video for More Directions and a Clear Demonstration