Published by Matt Fichera on 04/06/2020
Zodiac Factory Tune-up Kit (R0796200)
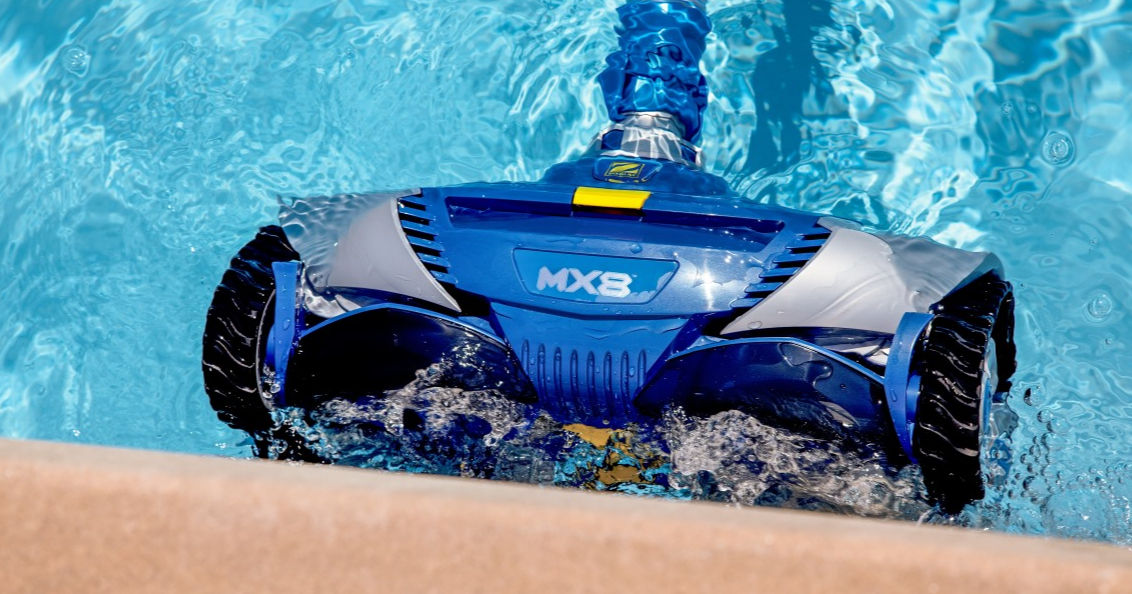
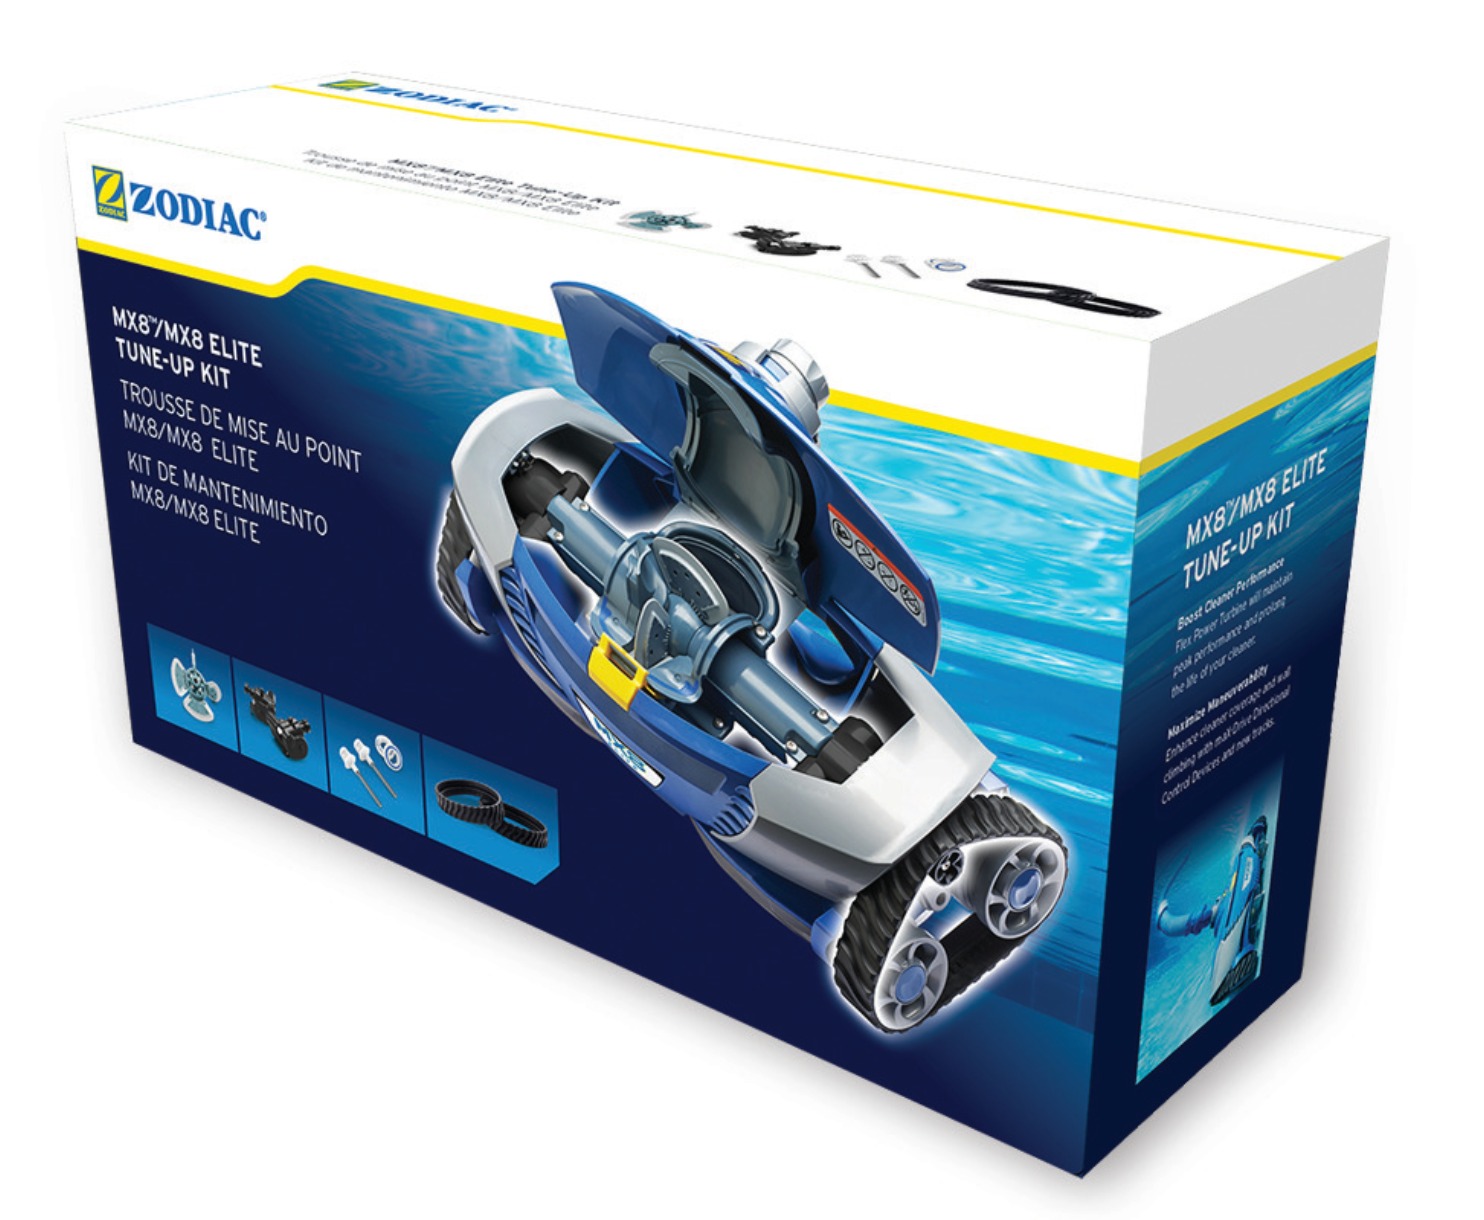
Time for a rebuild? The Zodiac MX8 / MX8 Elite Tune Up Kit R0796200iIncludes the genuine Zodiac parts that will get your cleaner running like new again.
Included in the Tune Up Kit are the following parts:
R0524700 Direction Control Device – Side A
R0524800 Direction Control Device – Side B
R0524900 MX8 Engine Assembly
R0525100 MX8 Drive Shaft Assembly (2x)
R0526100 MX8 Wheel Track (2x)
R0527000 Wheel Bearings
All of these parts are manufactured and intended for the Zodiac MX8 or the Zodiac MX8 Elite.
Instructions on changing out your cleaner's parts as well as a video are below:
Items Needed:
Your cleaner, the tune up kit, #2 Philips head screwdriver, small flathead screwdriver, stubby #2 Philips head screwdriver, and the instruction manual.
Disassembly:
1 Remove Tracks
Remove each of the worn tracks and discard.
Push the yellow latch release button (a) to open the top of the cleaner.
2 Remove 8 Screws and Engine Housing
Using a Philips screwdriver, remove eight (8) screws which hold the engine housing. Do not discard screws. These will be needed again for assembly.
Remove engine housing. Slowly push engine paddles forward or backward so they are clear of the housing. Make sure the cleaner wheels can move freely as they will turn as the paddles rotate.
3 Rotate Engine Paddles and Remove the Engine Assembly
Remove the engine and drive shaft assembly by holding both drive shafts and pulling firmly upward. Rotate the engine paddles if needed so that the engine can be easily removed.
4 Remove Screw and Side Body Assembly (2x)
Remove one screw from both left and right-side body panels and remove both side panel assemblies.
Keep these screws for reassembly.
5 Remove Screw and Directional Control Device (2x)
Remove one screw and remove the Directional Control Device assembly from both side body assemblies.
Keep the screw for reassembly.
Re-Assembly
1 Install Directional Control Devices
Directional Control Device marked ‘A’ Directional Control Device marked ‘B’
Directional Control Device marked ‘A’ Side Body marked ‘A’
Identify and match the directional control devices to the appropriate side. The letter marked on the directional control device should match the letter on the side body of the cleaner (A or B).
Replace screw to install the directional control device marked ‘A’ into side body marked ‘A’. Repeat the step, replacing screw to install directional control device marked ‘B’ into side body marked ‘B’.
Replace screws in both left and right-side body panels.
2 Install Bearings and Drive Shafts onto Engine
Press bearings firmly onto either side of the engine, until bearing stops. Make sure the blue plastic piece on the bearing is facing away from the engine.
Insert drive shafts into the engine and bearings.
3 Replace the Engine and Engine Housing
Seat the engine assembly into the cleaner body. Slowly rotate the engine paddles if necessary.
Replace the engine housing over the engine and paddles.
Replace eight (8) screws.
Close the top of the cleaner, making sure the latch clicks in place.
4 Replace New Tracks
Replace new tracks.
Place the raised inner track into the groove in the two bottom wheels.
Pull gently up to seat the top of the track over the smaller black wheel.
Here's a Video on how to replace your cleaner's parts:


